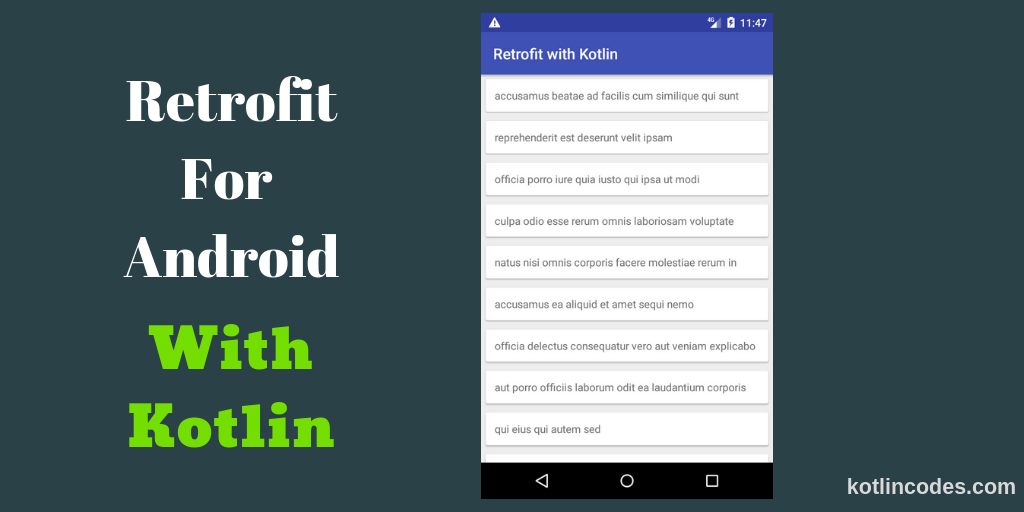
In this tutorial we will learn how to implement Retrofit HTTP client in Android with Kotlin.
Retrofit is a powerful HTTP client for an Android and Java built by awesome folks at Square . Retrofit Configured with convertors makes it easy to serialize structured data sets. Typically for JSON we uses Gson convertors to serialization and De-serialization process.
Retrofit uses the Okhttp library for for HTTP requests.
Please find the sample project given below.
- Open your project and add dependencies into app level build.gradle ( Module:app) file. Here we adds Gson,RecyclerView,CardView,Piccasso and Retrofit libraries
dependencies {
    ...

    implementation 'com.google.code.gson:gson:2.8.4'
    implementation 'com.squareup.retrofit2:retrofit:2.3.0'
    implementation 'com.squareup.retrofit2:converter-gson:2.3.0'
    implementation 'com.squareup.okhttp3:logging-interceptor:3.8.0'
    implementation "com.android.support:cardview-v7:27.1.1"
    implementation 'com.android.support:recyclerview-v7:27.1.1'
    implementation 'com.squareup.picasso:picasso:2.71828'

    ...
}- Make sure you have added the INTERNET permission in AndroidManifest.xml file like this.
<?xml version="1.0" encoding="utf-8"?>
<manifest xmlns:android="http://schemas.android.com/apk/res/android"
    package="kotlincodes.com.retrofitwithkotlin">
    <uses-permission android:name="android.permission.INTERNET"/>

    <application
        android:allowBackup="true"
        android:icon="@mipmap/ic_launcher"
        android:label="@string/app_name"
        android:roundIcon="@mipmap/ic_launcher_round"
        android:supportsRtl="true"
        android:theme="@style/AppTheme">
        <activity android:name=".activity.MainActivity">
            <intent-filter>
                <action android:name="android.intent.action.MAIN" />

                <category android:name="android.intent.category.LAUNCHER" />
            </intent-filter>
        </activity>
    </application>
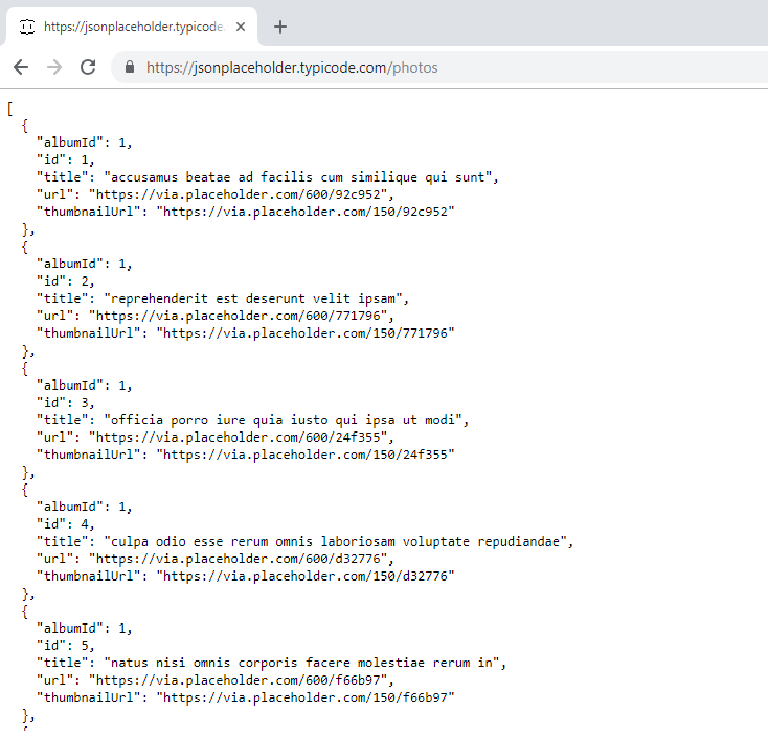
</manifest>- Next we need to create data model to parse our sample Json response . The sample response is given below.
- Now Create a Kotlin Class named DataModel.kt under model package like shown below.
DataModel.kt
package kotlincodes.com.retrofitwithkotlin.model

import com.google.gson.annotations.Expose
import com.google.gson.annotations.SerializedName


data class DataModel(

        @Expose
        @SerializedName("albumId")
        val albumid: Integer,
        @Expose
        @SerializedName("id")
        val id: Integer,
        @Expose
        @SerializedName("title")
        val title: String,
        @Expose
        @SerializedName("url")
        val url: String,
        @Expose
        @SerializedName("thumbnailUrl")
        val thumbnailurl: String
)- Now create a retrofit instance to make a network request to a REST API with Retrofit.
- Here we creates a Kotlin object ApiClient.kt under retrofit package.
- The BASE_URL is the basic URL of your API where we will make a call
ApiClient.kt
import com.google.gson.GsonBuilder
import okhttp3.OkHttpClient
import okhttp3.logging.HttpLoggingInterceptor
import retrofit2.Retrofit
import retrofit2.converter.gson.GsonConverterFactory

object ApiClient {

    var BASE_URL:String="https://jsonplaceholder.typicode.com/"
    val getClient: ApiInterface
        get() {

            val gson = GsonBuilder()
                    .setLenient()
                    .create()
            val interceptor = HttpLoggingInterceptor()
            interceptor.setLevel(HttpLoggingInterceptor.Level.BODY)
            val client = OkHttpClient.Builder().addInterceptor(interceptor).build()

            val retrofit = Retrofit.Builder()
                    .baseUrl(BASE_URL)
                    .client(client)
                    .addConverterFactory(GsonConverterFactory.create(gson))
                    .build()

            return retrofit.create(ApiInterface::class.java)

        }

}
- Define End Points : Now we create an interface ApiInterface.kt under retrofit package to define the api end points
ApiInterface.kt
import kotlincodes.com.retrofitwithkotlin.model.DataModel
import retrofit2.Call
import retrofit2.http.GET

interface ApiInterface {

    @GET("photos")
    fun getPhotos(): Call<List<DataModel>>

}
- Set up MainActivity Class
- Now we are all set to make an api call in MainActivity.kt .
- getData() method is used to make HTTP request using Retrofit
- Here we fetch data and populate it in to a RecyclerView , the RecyclerViewAdapter DataAdapter and RecyclerView layouts are described later.
activity_main.xml
<?xml version="1.0" encoding="utf-8"?>
<android.support.constraint.ConstraintLayout xmlns:android="http://schemas.android.com/apk/res/android"
    xmlns:tools="http://schemas.android.com/tools"
    android:layout_width="match_parent"
    android:layout_height="match_parent"
    tools:context=".activity.MainActivity">

   <android.support.v7.widget.RecyclerView
       android:id="@+id/recycler_view"
       android:layout_width="match_parent"
       android:layout_height="wrap_content">

   </android.support.v7.widget.RecyclerView>

</android.support.constraint.ConstraintLayout>
MainActivity.kt
class MainActivity : AppCompatActivity() {

    lateinit var progerssProgressDialog: ProgressDialog
    var dataList = ArrayList<DataModel>()
    lateinit var recyclerView: RecyclerView
    lateinit var adapter:DataAdpter
    override fun onCreate(savedInstanceState: Bundle?) {
        super.onCreate(savedInstanceState)
        setContentView(R.layout.activity_main)
        recyclerView = findViewById(R.id.recycler_view)

        //setting up the adapter
        recyclerView.adapter= DataAdpter(dataList,this)
        recyclerView.layoutManager=LinearLayoutManager(this,LinearLayoutManager.VERTICAL,false)

        progerssProgressDialog=ProgressDialog(this)
        progerssProgressDialog.setTitle("Loading")
        progerssProgressDialog.setCancelable(false)
        progerssProgressDialog.show()
        getData()

    }

    private fun getData() {
        val call: Call<List<DataModel>> = ApiClient.getClient.getPhotos()
        call.enqueue(object : Callback<List<DataModel>> {

            override fun onResponse(call: Call<List<DataModel>>?, response: Response<List<DataModel>>?) {
                progerssProgressDialog.dismiss()
                dataList.addAll(response!!.body()!!)
                recyclerView.adapter.notifyDataSetChanged()
            }

            override fun onFailure(call: Call<List<DataModel>>?, t: Throwable?) {
                progerssProgressDialog.dismiss()
            }

        })
    }


}
- Set up RecyclerView
- To set up RecyclerView we need a list layout and RecyclerView.Adapter DataAdapter.kt as given below.
- The layout includes only a text view to show the title.
list_item_home.xml
<?xml version="1.0" encoding="utf-8"?>
<android.support.v7.widget.CardView xmlns:android="http://schemas.android.com/apk/res/android"
    xmlns:app="http://schemas.android.com/apk/res-auto"
    android:orientation="horizontal"
    android:layout_width="match_parent"
    android:layout_margin="6dp"
    app:contentPadding="12dp"
    android:layout_height="wrap_content">

    <TextView
        android:maxLines="1"
        android:id="@+id/title"
        android:layout_gravity="center"
        android:layout_width="match_parent"
        android:layout_height="wrap_content" />

</android.support.v7.widget.CardView>
DataAdapter.kt
package kotlincodes.com.retrofitwithkotlin.adapters

import android.content.Context
import android.support.v7.widget.RecyclerView
import android.view.LayoutInflater
import android.view.View
import android.view.ViewGroup
import android.widget.TextView
import kotlincodes.com.retrofitwithkotlin.R
import kotlincodes.com.retrofitwithkotlin.model.DataModel

class DataAdpter(private var dataList: List<DataModel>, private val context: Context) : RecyclerView.Adapter<DataAdpter.ViewHolder>() {


    override fun onCreateViewHolder(parent: ViewGroup, viewType: Int): ViewHolder {
        return ViewHolder(LayoutInflater.from(context).inflate(R.layout.list_item_home, parent, false))
    }

    override fun getItemCount(): Int {
       return dataList.size
    }

    override fun onBindViewHolder(holder: ViewHolder, position: Int) {
        val dataModel=dataList.get(position)

        holder.titleTextView.text=dataModel.title
    }


    class ViewHolder(itemLayoutView: View) : RecyclerView.ViewHolder(itemLayoutView) {
        lateinit var titleTextView:TextView
        init {
            titleTextView=itemLayoutView.findViewById(R.id.title)

        }

    }

}
Now we are all done. We have

kotlincodes/Retrofit-With-Kotlin
Contribute to kotlincodes/Retrofit-With-Kotlin development by creating an account on GitHub.