The WillPopScope widget comes with the Flutter framework. It gives us control over the back button action, allowing the current page to go back to the previous one if it meets certain requirements. This is achieved using a callback, which the widget takes in as one of its parameters.
How to overcome iOS limitations in Flutter willpopscope. If Willpopscope is used in iOS, default swipe navigations will not work in iOS.
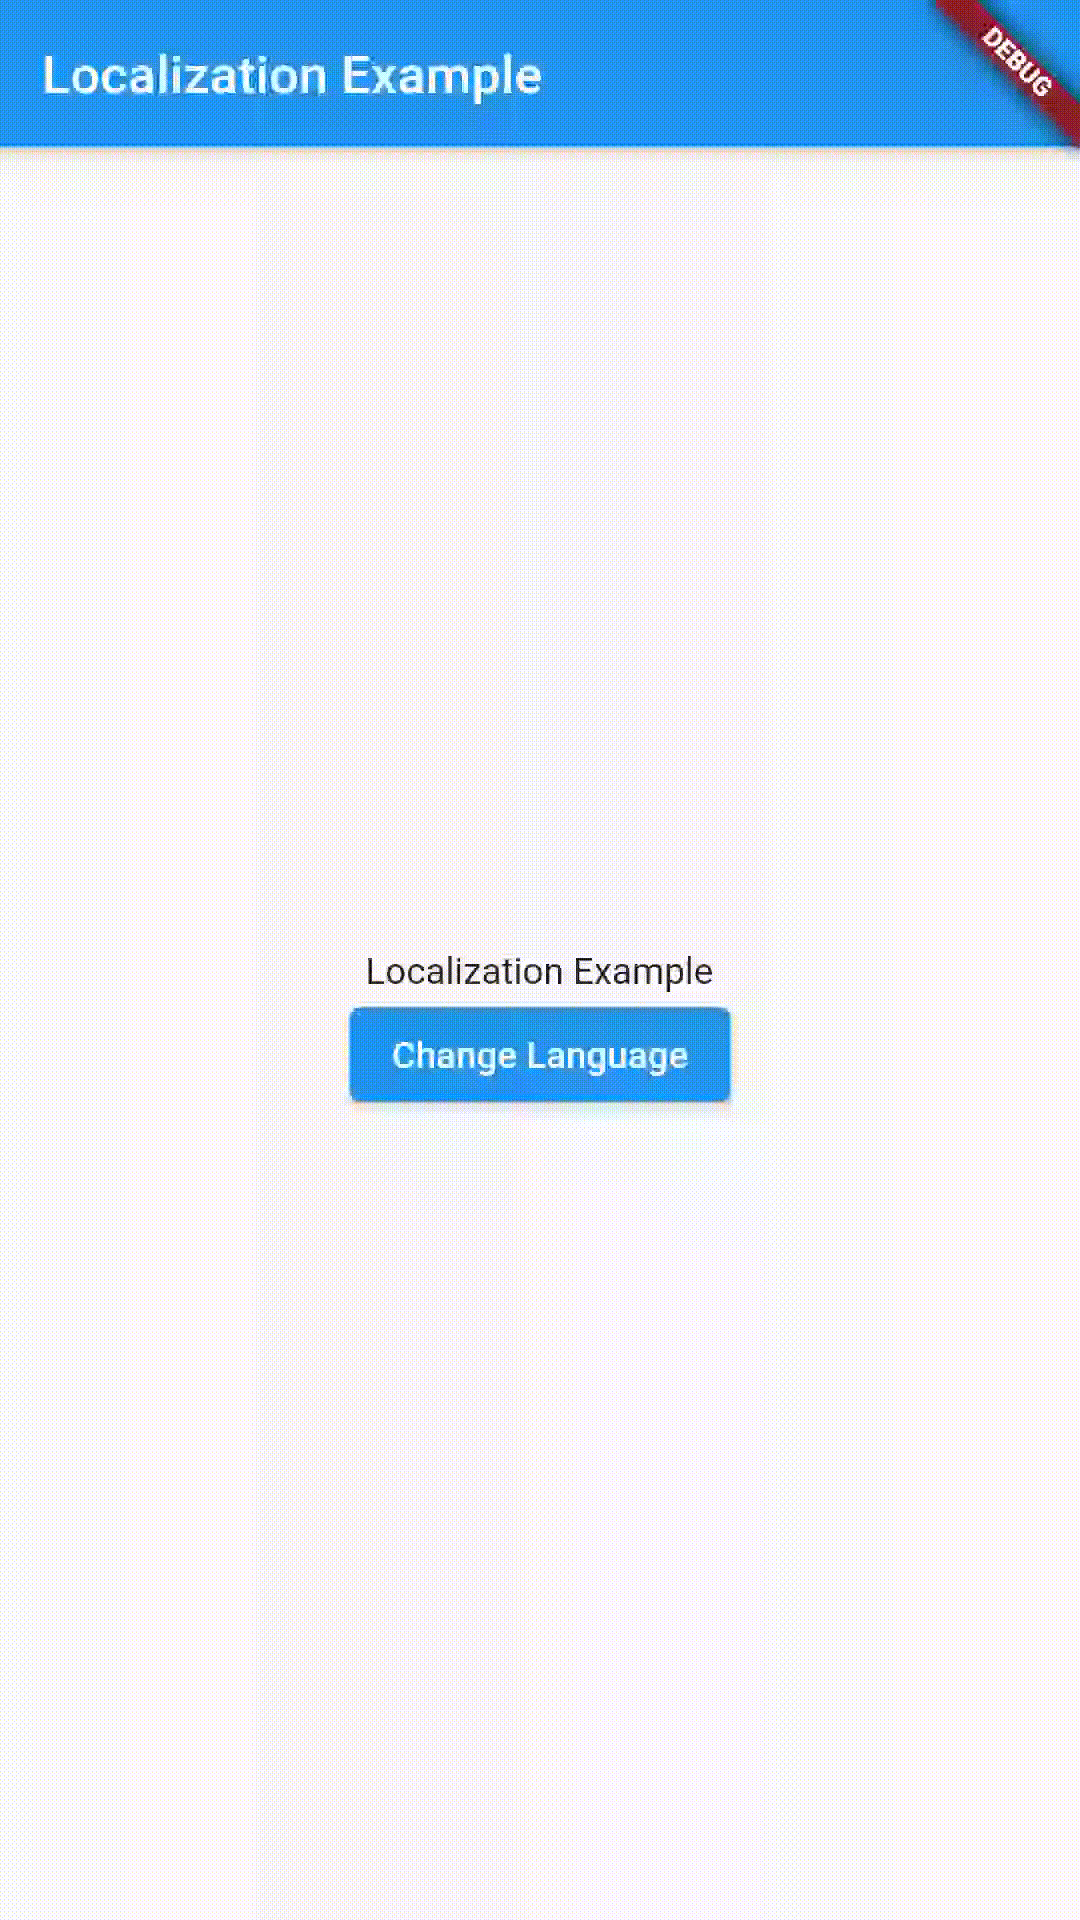
Localization is used to translate the application to several languages. Almost all of the apps needs localization for better user enagement.
Here we are going to implement Localization in a sample-simple flutter application.
Initial Setup for Localization
Add following dependancy in pubspec.yaml
provider: ^4.0.5
Provider is used to update and manage the state of the application, I am using provider and view model class to switch languages.
Add following files
app_localization.dart
AppLocalization class contains following functions
load function will load the string resources from the desired Locale as you can see in the parameter.
of function will be a helper like any other InheritedWidget to facilitate access to any string from any part of the app code.
translate this method is used to translate words from the json files
add the file in lib/localization folder
import 'dart:convert';

import 'package:flutter/material.dart';
import 'package:flutter/services.dart';
import 'package:localization_app/localization/supportedLanguages.dart';

class AppLocalization {
  // Helper method to keep the code in the widgets concise
  // Localizations are accessed using an InheritedWidget "of" syntax
  static AppLocalization of(BuildContext context) {
    return Localizations.of<AppLocalization>(context, AppLocalization);
  }

  // Static member to have a simple access to the delegate from the MaterialApp
  static const LocalizationsDelegate<AppLocalization> delegate =
      _AppLocalizationsDelegate();

  Map<String, String> _localizedStrings;

  Future<dynamic> load(locale) async {
    // Load the language JSON file from the "lang" folder
    // print("DATAAA" + 'assets/language/${locale.languageCode}.json');
    String jsonString = await rootBundle
        .loadString('assets/language/${locale.languageCode}.json');
    Map<String, dynamic> jsonMap = json.decode(jsonString);

    _localizedStrings = jsonMap.map((key, value) {
      return MapEntry(key, value.toString());
    });

    return true;
  }

  // This method will be called from every widget which needs a localized text
  String translate(String key) {
    return _localizedStrings[key] ?? "Missing Localized String";
  }
}

class _AppLocalizationsDelegate extends LocalizationsDelegate<AppLocalization> {
  // This delegate instance will never change (it doesn't even have fields!)
  // It can provide a constant constructor.
  const _AppLocalizationsDelegate();

  @override
  bool isSupported(Locale locale) {
    // Include all of your supported language codes here
    return supportedLanguages.contains(locale.languageCode) ||
        supportedLanguages.contains(locale);
  }

  @override
  Future<AppLocalization> load(Locale locale) async {
    // AppLocalizations class is where the JSON loading actually runs
    AppLocalization localizations = new AppLocalization();
    await localizations.load(locale);
    return localizations;
  }

  @override
  bool shouldReload(_AppLocalizationsDelegate old) => true;
}
supported_languages.dart
add the file in lib/localization folder
import 'dart:ui';

const supportedLanguages = [
  const Locale.fromSubtags(languageCode: 'en'), // generic Chinese 'zh'
  const Locale.fromSubtags(
      languageCode: 'zh',
      scriptCode: 'Hant'), // generic traditional Chinese 'zh_Hant'
];
Translated Json files
en.json file includes all the words for English
zh.json file has all the words in Chinese
add this file in assets/language folder
en.json
{
  "TITLE":"Localization Example"

}
zh.json
{
  "TITLE": "本地化示例"
}
Now we have added all required files for Localization.
A bottom sheet is a sheet that slides up from the bottom edge of the screen. Bottom sheets are displayed as a result of user-triggered action, and also it can reveal additional content.
Below is a small and simple function that returns a modelBottomSheet with a column having two child widgets.
Below find the final output of modelBottmSheet
Copy and paste the below code and use it with your requirements.
Flutter is an open-source UI software development kit created by Google. It is used to develop applications for Android, iOS, Windows, Mac, Linux, Google Fuchsia and the web.
Text fields allow users to type text into an app. They are used to build forms, send messages, create search experiences, and more.
Here I share a custom Textfield class text_field.dart. Using this class you can use a unique and customizable text field all over your Flutter Application.
text_field.dart
import 'package:flutter/material.dart';
import 'package:flutter/services.dart';

class TextFieldCus extends StatelessWidget {
  final String hintText,text;
  final bool obscureText, enabled;
  final Function onChanged;
  final TextInputType textInputType;
  final int maxLength;
  final int maxlines;
  final TextInputAction textInputAction;
  final Color textColor;
  final String error;
  final Function onEditComplete;
  final List<TextInputFormatter> textInputFormatter;


  TextFieldCus(
      {this.textInputFormatter,this.maxLength,this.onEditComplete,this.error,this.textColor,this.textInputAction,this.maxlines,this.text,@required this.hintText, this.obscureText, this.onChanged, this.enabled,this.textInputType});

  @override
  Widget build(BuildContext context) {
    TextEditingController _controller=text!=null?TextEditingController(text: text):null;
    if(_controller!=null) {
      _controller.selection = TextSelection.fromPosition(
          TextPosition(offset: _controller.text.length));
    }
    OutlineInputBorder outlineInputBorder =  const OutlineInputBorder(
      borderSide: const BorderSide(color: Colors.white, width: 0.0),
    );
    return Padding(
      padding: const EdgeInsets.fromLTRB(0, 6, 0, 6),
      child: TextField(
        onSubmitted:onEditComplete,
        maxLines: maxlines,
        style: TextStyle(color: textColor),
        keyboardType: textInputType,
        obscureText: obscureText == null ? false : obscureText,
        maxLength:maxLength!=null?maxLength:null ,
        onChanged: onChanged,
        enabled: enabled != null ? enabled : true,
        inputFormatters: textInputFormatter,
        controller: _controller!=null?_controller:null,
        textInputAction: textInputAction!=null?textInputAction:TextInputAction.done,
        decoration: InputDecoration(
            counterText: '',
          errorText: error,
          labelStyle: TextStyle(color: Colors.grey),
          enabledBorder: outlineInputBorder,
            labelText: hintText,
            hintStyle: TextStyle(color: Colors.white),
            border: outlineInputBorder
        ),
      ),
    );
  }
}